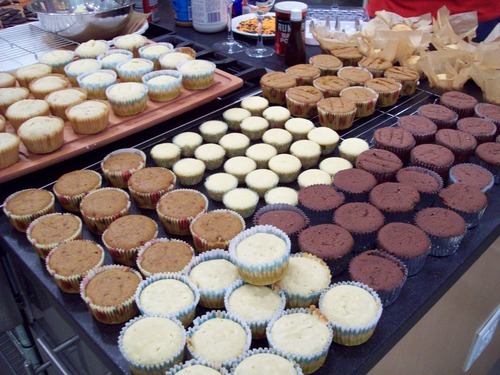
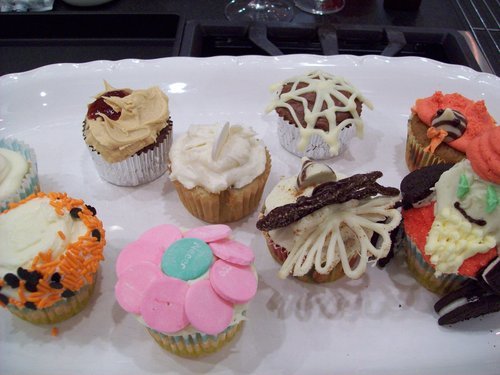
I found this on Oprah’s website while searching about how to become a guest on her show. Just kidding (not really). I brought them to my Aunt & Uncle’s house for Christmas Eve dinner and everyone loved them, or at least they told me they did.
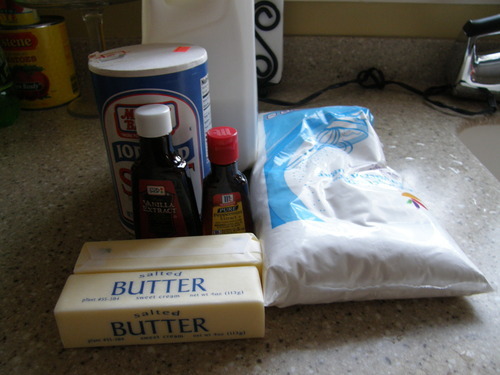
Ingredients & Directions:
Vanilla-Peppermint Cupcake:
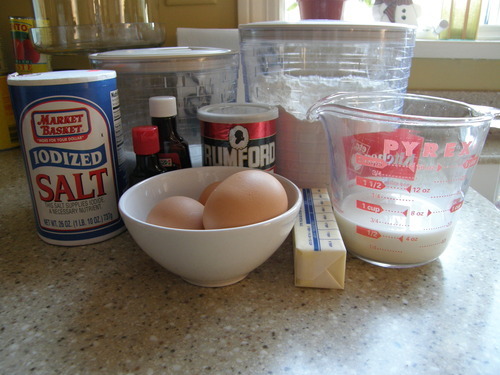
- 1 1/2 cups all-purpose flour , sifted
- 1 tsp. baking powder
- 1/4 tsp. coarse salt
- 1/2 cup whole milk , room temperature
- 1 tsp. pure vanilla extract
- 1 tsp. peppermint extract
- 1/2 cup (1 stick) unsalted butter , room temperature
- 1 cup sugar
- 1 large egg , room temperature
- 2 large egg whites , room temperature
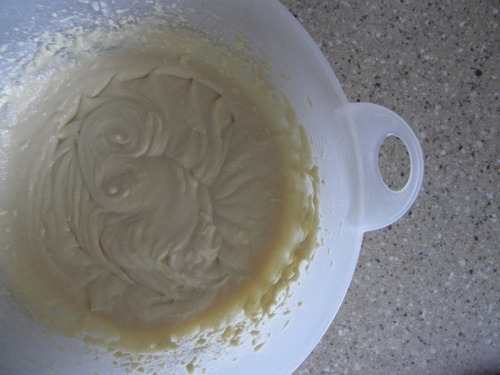
Preheat oven to 350 degrees. Line a 12-cup muffin tin with cupcake liners; set aside. In a medium bowl, whisk together flour, baking powder and salt; set aside. In a small bowl, mix together milk and extracts; set aside. In the bowl of an electric mixer fitted with the paddle attachment, cream butter on medium-high speed, until light and fluffy. Gradually add sugar and continue to beat until well combined and fluffy. Reduce the mixer speed to medium and slowly add egg and egg whites until just blended. With the mixer on low, slowly add half the flour mixture; mix until just blended. Add the milk mixture; mix until just blended. Slowly add remaining flour mixture, scraping down sides of the bowl with a spatula, as necessary, until just blended.
Divide batter evenly among prepared muffin cups. Transfer muffin tin to oven and bake until tops are just dry to the touch, 22 to 25 minutes.
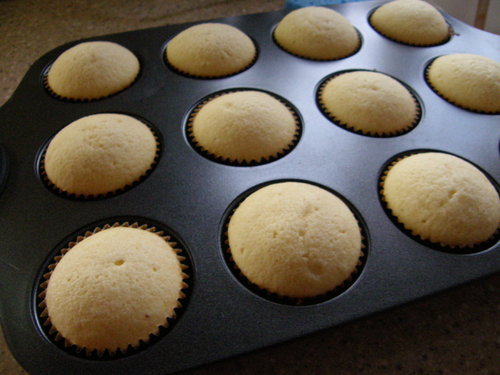
Transfer muffin tin to a wire rack and let cupcakes cool completely in tin before icing.
Vanilla-Peppermint Frosting:
- 1 cup (2 sticks) unsalted butter , firm but not cold
- 1/8 tsp. salt
- 3 1/2 cups confectioners’ sugar , sifted
- 1/2 tsp. vanilla extract
- 1/2 tsp. peppermint extract
- 1/2 tsp. milk
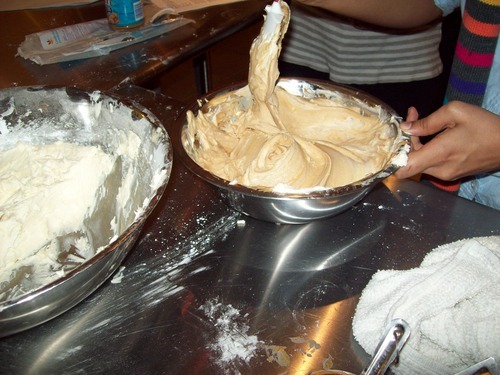
In the bowl of an electric mixer fitted with the flat beater, beat the butter and salt on medium speed until light and fluffy, about 2 minutes. Reduce the speed to low, gradually add the confectioners’ sugar and beat until incorporated. Add the extracts and milk and beat until smooth and creamy.

Do not overmix or the frosting will incorporate too much air; it should be creamy and dense, like ice cream. Add additional milk, 1 teaspoon at a time, if frosting does not have a spreadable consistency.
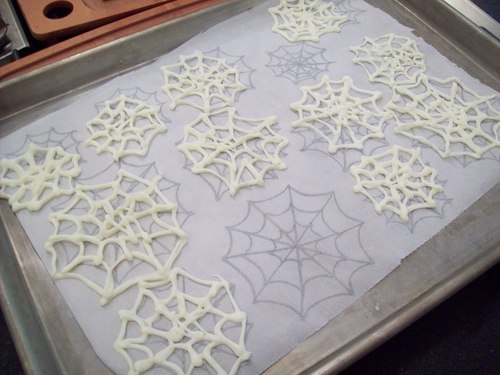
Top with crushed candy canes!
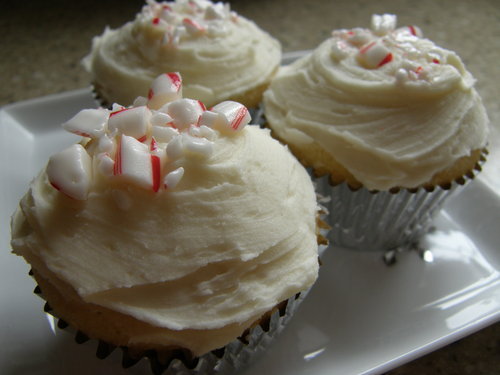
This is from Two Coast Table, where I am doing most of my food blogging these days. Check it out! Hope you had a great Christmas.
Steven.